The Table View is designed for displaying a list of work items in an organized format. It allows you to customize the columns to suit your specific needs and offering a quick and flexible overview of your information. This article will guide you through the process of customizing your Table View, adding new columns and changing the way Assignee's column is rendered.
What is displayed in the demonstration image? The first column displays Work Items and the subsequent indicate their Assignees.
TABLE OF CONTENTS
- Where to configure the Table View
- How to specify the First Column
- How to add Second Column
- New Feature: Column Visibility
Where to configure the Table View
To modify Table view navigate to Parameters > Table View
How to specify the First Column
In this section you can choose to add or hide the ID, title, or icon of work items. Additionally, you have the option to change the label as needed.
Here you can see field First Column with its optional configurations:
An example of the First column - display only the ID and icon:
How to add Second Column
Next, click on ’Add Column’ and in the Field section select what your next column should display. As demonstrated, you can customize the Gantt to show for example Duration of Work Items. You can add as many columns as required.
Other (by ID) option
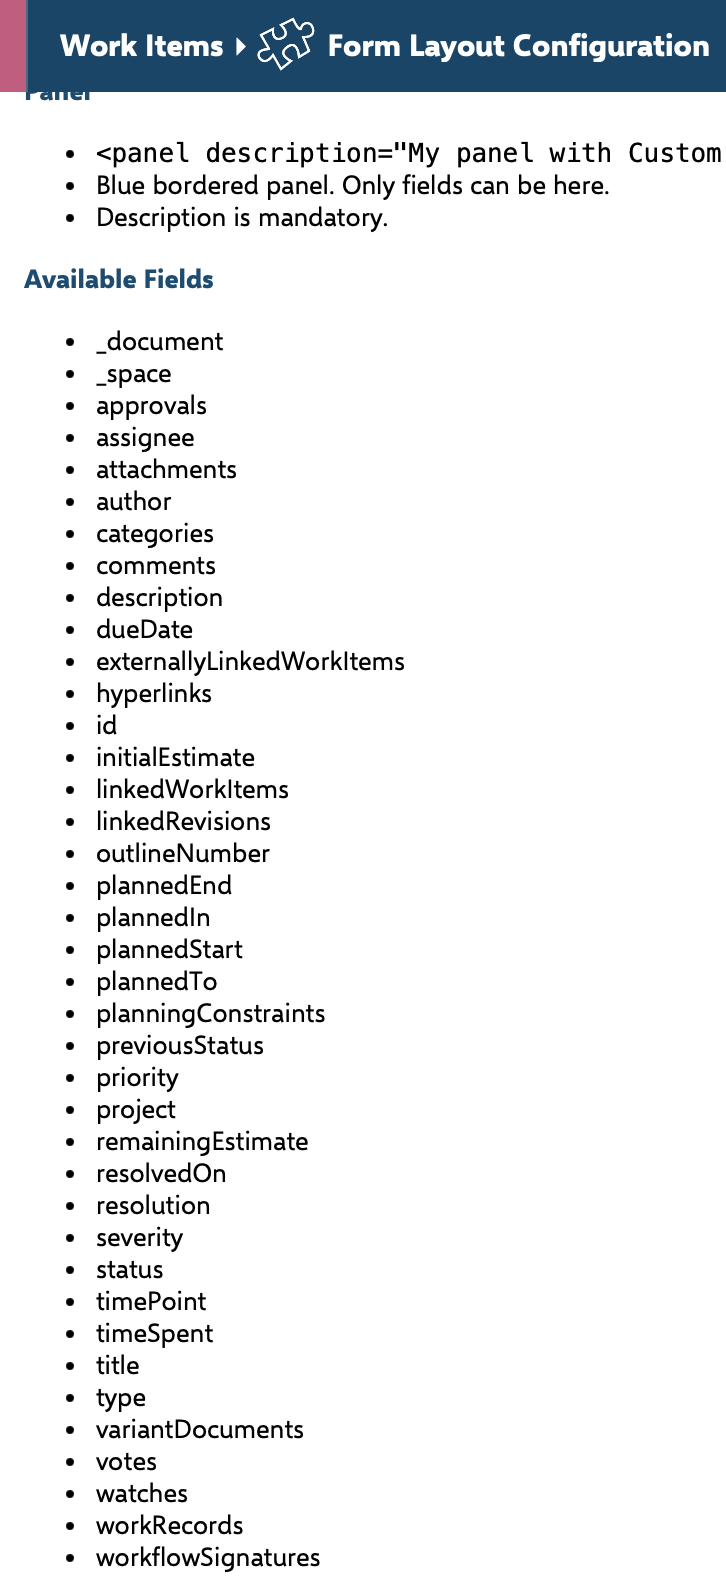
This useful option allows you to view specific information of your WIs. For instance, if you want to add a Status column to the Table View, select ’Other (by ID)’ and type status in the 'Field ID' parameter. You can add your custom fields or any other field - a list of available fields can be located in Administration -> Work Items -> Form Configuration -> scroll to Form Layouts -> any Work Item Type -> EDIT.
Render provides the opportunity to choose how information will be displayed—by icon, text, or the default setting.

A list of available fields:

Editable fields
Fields Start date, End date, Duration and Progress will be displayed as editable columns in the table. In Edit Mode, you can double-click on these fields to make changes directly: update dates, modify duration in days, or adjust progress as a value between 0 and 1. This makes it easy to update work item details directly within the table view.

New Feature: Display Assignee's Full Name
In version 24.11.3, you can now display the full name of the assignee (default value are initials). To enable this feature, go to Administration -> Configuration Properties and add the following script:
nextedy.gantt.assignee_column_display_mode=fullname
Displayed full name in Table view:

Additionally, for each column, you have the flexibility to adjust the alignment and width to tailor the Table view to your preferences.
Important reminder! Don’t forget to click ’Apply’ to implement your new configurations, followed by ’Save’ to preserve your changes.
New Feature: Column Visibility
Starting with version 24.7.11 we have introduced a new feature allowing you to control which created columns are displayed in the Table view. To access this feature, exit edit mode and right-click on the table header. Here, you can mark or unmark the visibility of columns. You can also adjust column visibility using the three-bar menu located at the top of the Table view.
For any assistance, please don’t hesitate to reach out by submitting a ticket here.
Was this article helpful?
That’s Great!
Thank you for your feedback
Sorry! We couldn't be helpful
Thank you for your feedback
Feedback sent
We appreciate your effort and will try to fix the article


